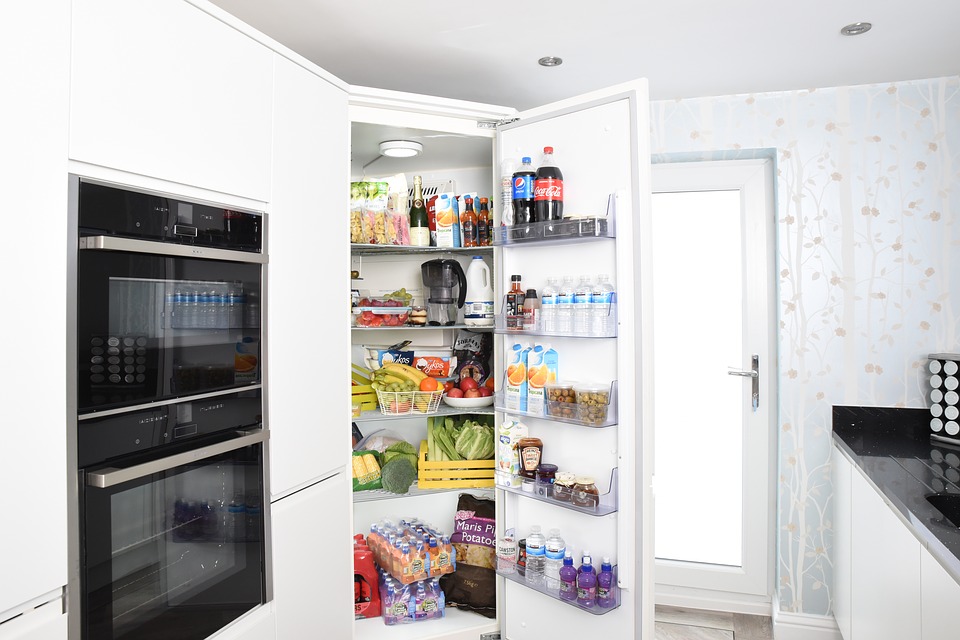
With all the power outages and blackouts in California, more residents are getting a home generator. Why? One reason is food. Losing a refrigerator and freezer full of food is expensive. Plus, spoiled food can be hazardous to your health.
But a permanently installed home generator starts automatically and runs without frequent re-fueling so you’ll no longer have to worry. For readers who have not yet installed a generator, we offer the following tips on how to keep food longer and safer during an outage.
Store More Cold
Let’s say you’ve already prepared your emergency pantry and stocked up on enough water to get you and yours through a power outage. What about the food in your refrigerator and freezer?
How can you make perishables last longer? And how do you know what’s still safe to eat? Knowing what to do before and during an emergency can minimize food that may be lost to spoilage and reduce your risk of food borne illness.
What to do now
O.K., in Part I, we’ll cover “before an emergency.” Here’s what you can do now to prepare.
First, buy two refrigerator-freezer thermometers, one each for your fridge and freezer. These do not have to be the relatively expensive digital models — the analog versions cost under $10, some are less than $5.
It’s very important to remember that during an outage, most of your food is only safe to eat after a limited amount of time. A thermometer is the safest way to determine if food can be saved — or eaten. You’ll learn more about this later in: Are Your Perishables Safe to Eat? – PART II.
 Second, buy an insulated cooler (maybe two if you’re a larger household or have lots of food). About coolers: there are some amazingly efficient, very-thick-walled models that can be expensive and are the best at keeping food cold.
But even very affordable Styrofoam coolers can be surprisingly effective, especially if they include a tight-fitting lid.
Third, make more cold! Think ice. Ice cubes won’t really do the trick because their high surface area means they’ll melt fast. Reusable freezer packs are better. But block ice is best.
Make your own ice blocks by freezing water in common kitchen items like plastic bins, cake pans or meatloaf pans. You can also freeze bottles of water or plastic jugs — when frozen, jugs are nicely contained blocks of ice with a handle! You may be surprised to find that in some cases the water won’t freeze until you move the container or open the cap. That’s a phenomena called “supercooling.”
And, no, you do not have to be concerned that frozen water jugs present a health hazard — that’s a common but thoroughly debunked misconception.
So here’s your plan: make it a practice to fill any available freezer space with those blocks or jugs of ice you made. Why? Because relatively full freezers keep food colder and safer significantly longer — up to twice as long — than nearly empty ones. Keep your empty coolers ready for use after you lose power.
You’ll need to use them when your refrigerator and freezer are no longer cold enough to keep food safe. Also, don’t forget to change your refrigerator and freezer(s) to the coldest setting before an expected storm.
Making Cold Last
In Part I of this emergency preparedness tip, we discussed how to prep your refrigerator and freezer “before” a power outage by “making more cold” to extend the safe storage of food. In this concluding part, we’ll cover the “after” — what you should do when you lose power.
When you lose power
You don’t have to go without power! A permanently installed home generator produces premium power quality with ultra-low levels of harmonic distortion, protecting even the most sophisticated electronics in your home.
However, if you don’t have a home generator and experience an outage, you should unplug electronics, including the refrigerator and freezer, to protect them from surges when power is restored from the utility grid.
Then you have an option: you can leave food in the fridge or, if you have any space, you can quickly move food that must be chilled – such as milk, meat and eggs — to the freezer.
Either way, keep the doors of both closed as much as possible. This is a good time to teach the family how easy it is to “lose cold” and to pre-visualize what they need to retrieve before opening the refrigerator or freezer door.
You can also wrap your fridge or freezer with blankets or moving pads to add another layer of insulation.
Your refrigerator will keep food safely cold for about four hours if it is unopened. While your freezer will keep food safely cold for about 48 hours if it’s full and unopened, or 24 hours if it’s only half full and unopened. Food must be stored at a temperature of 40° or less. So if the outage is relatively short, your food will be fine.
Those coolers that you purchased and “made cold” in PART I come into play if the outage lasts more than a couple of hours. As your food approaches 40° re-pack the perishables in your fridge into coolers with plenty of ice — those ice blocks you made.
If the outage persists, you’ll do the same with the food in your freezer. Transfer your thermometers! Pack everything tight. When possible, put ice on top of the food: cold air sinks.
If you have a source to replenish ice, you’re essentially camping and can really extend food storage. And dry ice is another option, though an uncommon one that requires special handling and consideration — venting, for example — and deserves a separate post.
 Is your food safe?
Trust your thermometers, not your sense of smell. And never taste food to see if it’s O.K. — no sense in being your own (sick) guinea pig! The goal here is to keep all perishable food below 40°F.
You cannot safely eat food that has been above 40° for more than two hours. Period. You can still consume or re-freeze frozen foods if ice crystals are present throughout the package, though raw meat and poultry should be cooked before refreezing as a precaution. Fish and shellfish should not be refrozen.
If despite your good efforts you cannot maintain food storage below 40° or if you are unsure of the safety of any food, “when in doubt, throw it out” applies. Be ruthless with this principle — it easily beats becoming ill!
One final tip that might be counterintuitive: when you experience an outage, one really smart move is to sit down and have a good meal while perishables remain fresh.
Or take those burgers out to the grill — if conditions allow you to do so safely! You’ll reduce the volume of food that needs refrigeration, and you won’t have to worry later about whether they’re safe to eat.
Generator FAQ’s
If your home generator has been operating during an extended power outage, here are a few tips from our service team to keep handy. Please note that these are merely suggestions and maintenance guidelines. Please refer to your owner’s manuals for exact specifications and maintenance schedules. It’s very important to service your generator correctly and in a timely manner.
Q: How do I open the unit?
A: When you purchased your generator, you get a literature packet that contains the key. Insert the key into the lock and turn it 45° to unlock. Lift the hood.
Q: How do I turn off my generator?
A: Open the hood. Move the circuit breaker to the OFF position to stop powering the house. The circuit breaker is located below the black controller. Once switched OFF, let the generator run for 2‐5 minutes then press the blue OFF button located on the controller.
Q: How long can it run before I need to check the oil?
A: Be sure to check the oil every 8 hours and change the oil after every 100 hours of use. If this is not possible, at the very least, check the oil every 24 hours. It’s very important that the oil is checked and changed correctly in a timely manner to avoid damaging your generator. It’s important not to rely on the low oil pressure switch (which is very different from a low oil level switch) to shut the machine down. The damage will most likely already be done by the time this occurs.
Q: How much oil will my generator consume?
A: Since variables such as engine hours, load, model, and other factors influence fuel consumption, there is no standard amount of oil being consumed. As long as you check the oil level and change the oil as instructed then your generator should be in good condition.
Q: What type of oil do I put in the generator?
A: We recommend 5W30 Full Synthetic Oil. If that’s not available, then you may also use conventional mineral base oil. If the engine has been serviced before and filled with conventional oil, then refill it with conventional. It’s important not to mix the synthetic and conventional oil. It can damage your engine.
Q: Where is the dipstick?
A: The dipstick is located on the back of the engine and has a yellow ring or handle on the end of it.
Q: How do I check the oil?
A: After you turn off the generator, allow the engine to sit for 2 minutes to let the oil settle. To check the oil level, pull the dipstick from the back of the engine, wipe it with a clean rag and place it back into the dipstick tube. Pull the dipstick back out and examine the end of the dipstick. The end of the dipstick has crosshatching between an ‘F’ (full) and an ‘L'(low). The oil level should fall between these two markings. If it is towards the low end, add oil.
To add oil, find the yellow cap (that’s engraved with a picture of an oil can) on the front of the engine. Add a few ounces of oil then check the oil level again by inserting and removing the dipstick. Repeat these steps and continue adding oil until the level is at or near the ‘F’. Do not overfill the engine. If the engine has been serviced before and filled with conventional oil, then refill it with conventional oil and NOT synthetic oil. It’s important not to mix the two oils. Once oil is at a desirable level, start the generator by pressing the AUTO button. After the generator is started, flip the circuit breaker to the ON position and the generator should be supplying power to the house.
Q: What do I do when the water rises above the generator?
A: If it’s safe to go outside, turn your generator OFF. If you can’t get to your generator and it continues to run while submerged in water, there will most likely be internal damage. There is not much else you can do. Remember, water and electricity can be very dangerous and if the generator is submerged, you will have both conditions.
If you need help with generator maintenance, or if you would like to schedule an on-site assessment, contact us and we are happy to help.
